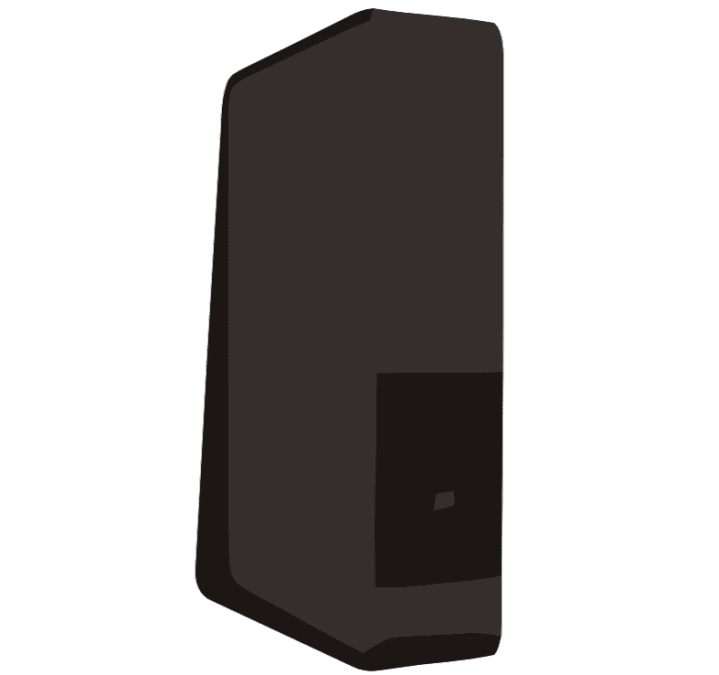
Virgin Hub 3 Lights aren’t complicated. Below are explanations for Super Hub 3 users, which might be helpful if you’re having trouble connecting to the internet, or are simply curious about how your Hub is performing.
What do the lights of your Super Hub 3 mean? We cover this in full details in our article so be sure to read on.
If you are not using a Virgin Media hub for your WiFi then this is normal. You might have a separate WiFi router that handles all of the WiFi connections instead, which means that you are running in modem mode.
If you don’t have a separate WiFi router then you might have to perform a factory reset on your Virgin Media Super Hub 3. In order to do this, follow the steps below:
Table of Contents
- How to factory reset your Hub
- No Virgin Hub 3 Lights on at all
- White light is on and nothing else
- Green power light flashing WiFi Light Green
- The red power light is on
- The green power light is on and the WiFi light is flashing green
- White Power Light on and Internet light flashing green
- The power light is on and the Internet light is flashing red
- The yellow power light is on
- Alternatives to Super Hub 3 routers
- Installing a Replacement router
- Activating modem mode on the Super Hub 3
- Conclusion

How to factory reset your Hub
- Connect the Hub to the wall as well as the side of the Hub
- Hold the pinhole reset button for 10 seconds on the back of the Hub. You can use a pen or paper clip to do this.
- Wait a few minutes for the Hub to clear its settings and reboot
- As soon as the hub is ready, you will see the white power lamp. You will see a solid white light ring if you have a Hub 4.
- Remember: Once the Hub is reset, it will return to factory settings, so if you’ve made any changes like updating your WiFi password, you’ll need to do so again.
No Virgin Hub 3 Lights on at all
This means that the Hub is probably switched off, or the wall plug is, or both. Don’t worry, it happens to the best of us.
Check that the Virgin Hub 3’s power supply is securely attached to the wall and the back of the Hub and that it is turned on.
Rebooting the Hub may take anywhere from five to ten minutes so please be patient. As soon as you see the white power light solidly lit you’re all set.
White light is on and nothing else
The Hub appears to be working and online, which means that it’s probably your phone, laptop, or another device that is having trouble connecting to your WiFi network.
Try restarting the offending device and try again.
Green power light flashing WiFi Light Green
This is usually a device fault like the above. Try restarting the offending device and try again.
The red power light is on
This means that your Hub is too hot. Easy fixes for this include:
- Placing the hub out in the open
- Uncovering the vents if anything is obstructing the Hub’s airflow
- Putting the Hub in the upright position if you have not already done so
The green power light is on and the WiFi light is flashing green
This means that the Hub is on, but your WiFi isn’t
You may have a loose connection somewhere along the line. Follow these simple steps to make sure that this isn’t the case:
- The Hub’s power supply needs to be firmly connected between the wall and the Hub, and the power should be turned on.
- Verify that the white cable is securely connected to the Virgin Media wall socket.
- Connect the cable tightly to the splitter and to the rear of the Hub after plugging it into the wall socket.
White Power Light on and Internet light flashing green
In this case, your Hub may need to be rebooted. The Hub’s power supply should be firmly attached to the wall and work.
Remember that the Hub can take five to ten minutes to reboot, so be patient. You should be able to access the internet once the white power light is back on again.
The power light is on and the Internet light is flashing red
Just like the previous issue, a reboot should sort you out. And also like before, remember that the Hub can take up to five or ten minutes to reboot, so be patient. You should be able to access the internet once the white power light is back on again.
The yellow power light is on
A yellow LED is not indicative of any issues, it seems to affect some users but it is fine to leave it as it is. If you are having connectivity issues then a factory reset should get you up and running again in no time.
Alternatives to Super Hub 3 routers
You might want to consider installing a stand-alone WiFi router if you find that the Super Hub 3 simply isn’t working for you. Most Virgin Media users end up doing this when the WiFi no longer works as it should. Examples of a bad WiFi setup include:
- Slow and unresponsive internet
- Poor WiFi connectivity that drops constantly
- Lag and poor latency
- Unusable internet when there are multiple devices connected
We have put a short list together for inexpensive replacements that will have your WiFi performing as it should.
- Asus RT-AX55 – Great overall option
- Linksys MR7350 – Seriously high performance
- TP-Link Archer AX50 – Tons of features
- Netgear NightHawk X6 – Great for entertainment services
Installing a Replacement router
All you need to do is install an Ethernet cable that will connect from your Virgin Media Super Hub to your new stand-alone WiFi router. Next, you will need to put your Super Hub 3 into Modem Mode.
Activating modem mode on the Super Hub 3
Connect the Hub to your computer with an Ethernet cable before proceeding.
- Put 192.168.0.1 into the address bar of your web browser
- You can find the password at the bottom of the hub
- Modem Mode can be found on the left of the screen
- Make sure that the Enable Modem Mode option is selected
- Click on Apply to save your changes
The Hub’s IP address changes from 192.168.0.1 when in Modem Mode, so once you change to Modem Mode you will need to use 192.168.100.1.
Conclusion
If you’re still having trouble with your Super Hub 3, you may want to consider using a third-party WiFi router or even or even a slick new mesh WiFi setup if the built-in WiFi of your Super Hub 3 is giving you too many problems.
The best way to get started would be by looking at the suggestions above and choosing a WiFi router that suits your budget or reading our mesh WiFi article.
It’s worth mentioning that not only will it give you better internet coverage but most smart routers have additional features like parental controls and advanced network features like QoS and VLAN functionality.
Your home network really does get an upgrade when you change to a dedicated WiFi router.
If you would like to learn more about what a replacement router should have in terms of features and functionality then be sure to read our Virgin Media replacement router article here.

