If you have ever had an issue with making your own network or Ethernet cables before, then we have got a surprise for you.
We went ahead and made our own guide to help you with the task of crimping an RJ45 connector without any fuss.
There are a few little tips and tricks that you can apply to your own crimping methods, which we cover in a full length video.
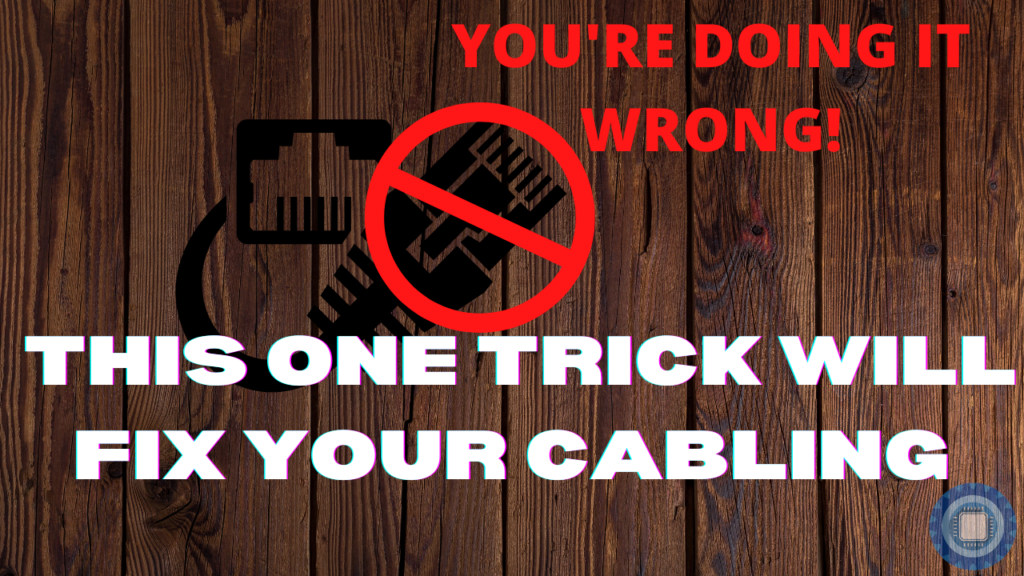
Have you been doing it wrong all this time?
Decide on the length
Ethernet cables have a maximum length of 100m, or 328 feet. Anything longer than that and you will start
Find a suitable diagram
There are tons to choose from online, and we have included one in this article so you have a reference while you are crimping.
Choose the right crimping tools
You don't need a high-end tool to do this job. If you want to make sure that the wires stay secure once you've crimped them, and that the tool runs freely when you squeeze the handles together.
Pick the right crimp configuration
The first step is to ensure that you know what crimp configuration you're going for. There are two types, namely A and B configurations.
For our example we went with the A schema also known as TIA/EIA 568A Wiring.

Ethernet Cable Wires
Pins are 1 - 8 from left to right
Strip your cable and expose the wires
You can use a Stanley knife, box cutter, a pair of side cutters, wire strippers, or the built in cable stripper that comes with most crimping tools. Make sure you expose a little more than what you need, as you will be trimming the wires once you have applied the wiggle technique.
https://www.youtube.com/watch?v=cjbiWNau8mA
Untwist the pairs of wires
This is pretty straight forward. Simply untwist the cables until the twist disappears into the cable sleeve. You want this because the wires will lay more flatly than if they were still twisted around one another.
Wiggle Technique
In my video I explain what this is, but to recap it is simply a method whereby your thumb and forefinger grabs the wires as they exit the cable insulation. With you other hand, pinch the cables in a flat group in the order that we have chosen.
Pin 1: Green/W
Pin 2: Green
Pin 3: Orange/W
Pin 4: Blue
Pin 5: Blue/W
Pin 6: Orange
Pin 7: Brown/W
Pin 8: Brown
You then start to wiggle laterally so that the wires conform to a single flat shape, almost like a ribbon cable. Once you are satisfied that they cables no longer want to spring off to the left and right, you can release the pressure and trim them to the same size as your RJ45.
Some people like to trim the wires shorter so that the entire cable can go into the RJ45 and be crimped in place, but I have never been a fan of that. This guide shows you how I do it, so you should experiment and find a method that works for you.
Insert wires into RJ45 connector
Once you have a flat and evenly trimmed set of wires, push them into the RJ45 snuggly, and maintain light pressure throughout the next step.
Crimp the RJ45
With the pressure still being applied to the RJ45, start crimping down on the RJ45 crimping tool. You should do this until you hear a plastic click sound. That is the sound of the 8 data pin 'teeth' being pushed into the copper wires inside the RJ45.
Repeat for the other end
The exact same pinout must be used on both sides for a straight through cable, unless you are making a crossover cable. In that case, simply swap pins 1,2,3 and 6 on the other. In our example that would be:
Pin 1: Orange/W
Pin 2: Orange
Pin 3: Green/W
Pin 6: Green
This simply crosses over the TX (Transmit or send) and the RX (Receive) pins, making the send signal go into the receive pins of the target computer, and vice versa.
Test with a LAN tester
Once you have crimped both cable ends, it is time to test. As we saw in the video, it doesn't matter how many times you have done this before, a single pin can ruin your day. Once you have confirmed that everything works, you are good to go, and you can connect your cable up.
Conclusion
We hope you have found this information helpful in a practical sense so that you can see how to do it for yourself. I want you to be able to do this yourself with relatively cheap tools and consumables so that you can run cables for yourself when the need arises.
It is also great to be able to make custom Ethernet cables for your WiFi and internet devices, which sometimes need specific lengths to keep things tidy if cable management is not an option for areas such as a living room or study.
Be sure to watch the video and let us know what you think. Until next time.