
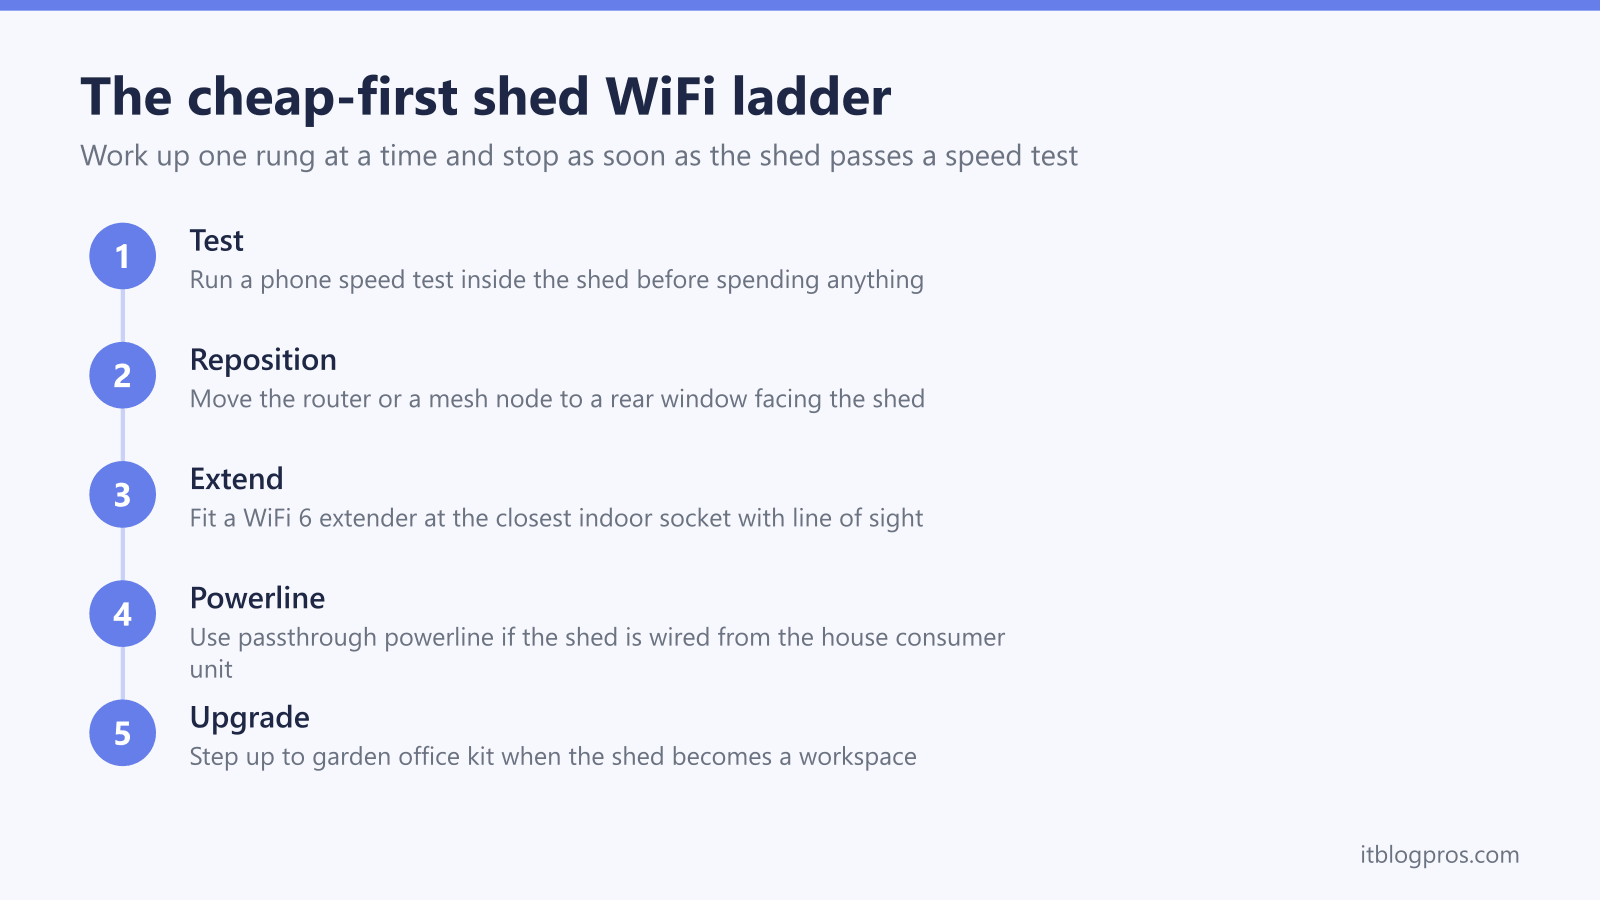
A shed, summerhouse or workshop at the bottom of a UK garden rarely needs office-grade internet. A couple of smart plugs, a radio streaming in the background and the occasional laptop session are a modest load, and a security camera's upload need depends on its make and model, as the figures below show. That changes the shopping list completely. Before any kit gets bought, the cheap-first ladder below starts with a free test and stops at the first rung that works.
Start with a phone speed test inside the shed, because many sheds already get a usable signal. If not, move the router or a mesh node to a rear window facing the garden, then fit a WiFi 6 extender at the closest indoor socket with line of sight to the shed. Passthrough powerline is the next rung, but only when the shed is wired from the house consumer unit. Metal sheds block WiFi entirely.
Key Takeaways
- A phone speed test inside the shed comes first, because many sheds already receive enough signal for smart plugs and a camera.
- Moving the router or a mesh node to a rear window facing the shed costs nothing and often fixes the problem on its own.
- A WiFi 6 extender belongs at the closest indoor socket with line of sight to the shed, never inside the shed itself.
- Passthrough powerline only suits sheds wired from the house consumer unit, and a shed with no mains power has no extender or powerline options at all.
- Metal sheds act as a Faraday cage and block WiFi almost entirely, so only an outdoor access point or a cable run gets a signal inside one.
Step 0: A free speed test decides whether anything needs buying
Stand inside the shed, exactly where the kit will live, and run a speed test on a phone connected to the house WiFi. Speedtest, Fast.com or nPerf all do the job. Run it three times with the shed door shut, because a closed door and a damp timber wall both change the result, and note the upload figure as well as the download.
The target numbers vary by device. A smart plug needs well under 1 Mbps. A security camera's upload need depends on the make and model: Blink's Improving Wi-Fi Performance page says Blink requires at least 2 Mbps upload, while Ring's wifi recommendations page lists 2 Mbps per device for 1080p video, 10 Mbps for 2K and 15 Mbps for 4K, so check the figure for the camera in question. Internet radio streams at under 0.5 Mbps. A laptop doing email and browsing is comfortable from about 5 Mbps. If the shed already clears those numbers and the connection does not drop when someone walks between the house and the garden, the ladder ends here and the budget stays in the wallet.
If the phone cannot hold a connection at all, or the speed collapses to a fraction of a megabit, move to the free rung next rather than straight to the checkout.
Step 1: The router or a mesh node moves to the rear of the house
WiFi strength drops with every wall and every metre, so the free fix is to shorten the path. Move the router to the rear of the house, ideally on a shelf or windowsill facing the shed, roughly at head height and clear of radiators, mirrors, fish tanks and anything else large and metallic. If the router is tied to the master phone socket at the front of the house, as many BT, Sky and TalkTalk installs are, move a mesh node or the rearmost satellite instead and leave the router where it is.
One honest caveat about aiming through a window: modern energy-efficient double glazing carries a microscopically thin metallic low-E coating, and measurements show it can knock a large slice off a wireless signal, far more than plain glass. An older single-glazed rear window often passes more signal than a brand new A-rated one. Test again at the shed after every move rather than assuming glass is transparent to WiFi.
If a repositioned node gets the shed over the line, stop here. The extender vs mesh comparison explains when each approach wins if the whole house has dead zones too.
Step 2: A WiFi 6 extender goes at the closest indoor socket, not in the shed
The next rung is a plug-in extender, and placement decides whether it works. TP-Link and Netgear placement guidance agrees on the rule: the extender sits roughly halfway between the router and the dead zone, at the edge of the router's strong coverage, never inside the dead zone itself. For a garden that means the closest indoor wall socket to the shed, ideally near a rear window with clear line of sight across the garden. An extender re-transmits what it receives, so expect roughly half the speed the extender itself gets from the router, which is still plenty for shed loads.
Before recommending anything: this rung fails if there is no rear socket with reasonable sight of the shed, and heavy foliage, brick outbuildings or a long garden past about 15 to 20 metres can defeat it. When it fits, the TP-Link RE705X is the value pick for this job. It is an AX3000 dual-band WiFi 6 unit, it works with any router, and it takes the guesswork out of the placement rule with a signal LED that glows solid blue when the link to the router is good and red when the extender is too far away, according to TP-Link's RE705X setup guide, and it sets up through the Tether app. Its gigabit Ethernet port also lets it convert into a proper wired access point later, which matters at the powerline rung below. Camera owners chasing a doorbell dead spot specifically should read the Ring doorbell extender guide first.

Step 3: Passthrough powerline suits sheds wired from the house consumer unit
Powerline adapters send the network signal through the mains wiring, which sounds perfect for a shed. The honest version first, because this is where money gets wasted.
Powerline works reliably when the shed's electrics run as a circuit from the house consumer unit, even a different circuit from the router's socket, though speeds drop a little crossing circuits. It rarely works well when the shed has its own consumer unit fed by a long armoured cable, because each RCD and every extra metre of run attenuates the signal, and the common result is a connection that is slow, intermittent or absent. And a shed with no mains power at all has no powerline option, no extender option and no access point option, which is covered honestly further down.
For a shed on the house consumer unit, the TP-Link TL-PA7017P KIT is the sensible pick. It is an AV1000 HomePlug AV2 kit rated for up to 300 metres of wiring, with a gigabit Ethernet port on each adapter, and the passthrough socket with a built-in noise filter means the shed's only socket stays usable for the kettle or the battery charger. One adapter plugs into a wall socket near the router, the other into the shed socket, both directly into the wall and never into an extension lead. That gives the shed a wired port, so a laptop or camera base station cables straight in, or an RE705X in access point mode plugs into it and fills the shed with fresh WiFi.
Check the TP-Link TL-PA7017P powerline kit on Amazon UK →
Classic mistakes that waste shed WiFi money
The same errors come up in almost every garden WiFi complaint, and all of them are avoidable.
Carrying the extender out to the shed is the big one. An extender in the dead zone has nothing usable to rebroadcast, so it repeats a broken signal and the reviews blame the hardware. It belongs indoors, at the edge of strong coverage. If an extender is already fitted and still struggling, the booster and extender troubleshooting guide works through the placement and channel fixes before any replacement.
Expecting WiFi inside a metal shed is the second. A steel shed behaves as a Faraday cage, absorbing and reflecting the signal, and no consumer extender fixes physics. The realistic options are an outdoor access point mounted on the house wall aimed at the shed window, or a network cable into the shed. Foil-backed insulation boards in a lined summerhouse cause a milder version of the same problem.
The remaining two are quieter money sinks: buying a bigger, more expensive extender instead of fixing placement, and plugging powerline adapters into surge-protected extension strips, which filter out the very frequencies the adapters use.
A shed with no mains power has no cheap options
This rung deserves a plain statement rather than a workaround dressed up as a solution. With no electricity in the shed there is nothing to power an extender, a powerline adapter or an access point, so there is no way to create WiFi inside it. The choices shrink to battery devices that reach back to the house network on their own: a battery security camera mounted on the shed wall facing the house, ideally with a solar panel, and battery sensors with long-range protocols. Improving the house-side signal with steps 1 and 2 still helps those devices hold their connection.
Getting mains to a shed means an armoured cable run and a qualified electrician, and once that trench is being dug it costs almost nothing extra to pull a network cable through at the same time. At that point the project has outgrown this page and belongs on the garden office upgrade path below.
A serious garden office deserves the proper upgrade path
The ladder above is built for hobbyist loads: smart plugs, a camera, music and the odd laptop session. The moment the shed becomes a daily workspace with video calls, the tolerances change and the cheap rungs stop being the right answer. A dropped frame on a security camera clip is nothing; a frozen face on a client call is a problem.
For that jump, the garden office WiFi guide covers the proper options, from outdoor access points to wired and point-to-point links, sized for full-time work rather than background gadgets. And if a garden office connection already exists but keeps misbehaving, the garden office WiFi troubleshooting guide diagnoses the drops before any new spending.