A dead Vodafone connection nearly always traces back to one of four things: an outage on Vodafone's side, a hub that needs power-cycling, a loose or wrong cable, or WiFi settings rather than the line itself. The trick is to work them in the right order so you rule out a free five-minute fix before touching anything drastic. This guide sets out that order for the current Vodafone hubs, from the WiFi Hub (THG3000) through the Power Hub, Ultra Hub and Wi-Fi 7 Ultra Hub 7. It covers no internet at all, painfully slow speeds, WiFi that keeps dropping, and a hub that simply will not connect. Every step below is grounded in Vodafone's own support guidance, and where a light is the symptom it points you to the dedicated colour guides rather than guessing.
Vodafone broadband that has stopped working usually clears in one of five ordered steps. Check Vodafone's status checker for an area outage first, power-cycle the hub and wait three to five minutes, check the broadband and power cables, separate or switch the 2.4GHz and 5GHz WiFi bands for dropouts, and keep a factory reset as the last resort before contacting Vodafone.
Key Takeaways
- Checking Vodafone's Network Status Checker by postcode comes first, because an area outage cannot be fixed at home and rules out wasted troubleshooting.
- A power-cycle resolves most temporary faults: switch the hub off at the mains, leave it off briefly, then allow three to five minutes for the light to settle on solid white.
- Slow speeds and dropping WiFi are usually a wireless problem, not a line fault, and are often fixed by separating the 2.4GHz and 5GHz bands or moving the hub higher and more central.
- A factory reset is a near-last resort because it wipes your WiFi name, password and any custom settings, so it sits below cable and band checks in the order.
- Vodafone's UK hubs do not offer a true modem or bridge mode, so a tired hub is best replaced under warranty or supplemented with your own router in access-point mode behind it.
The Fix Order At A Glance
Most Vodafone broadband faults fall into four buckets: a network outage, a hub glitch, a cable problem, or a WiFi setting. Working them in order matters, because the cheapest and most common fixes sit at the top and the disruptive ones sit at the bottom.
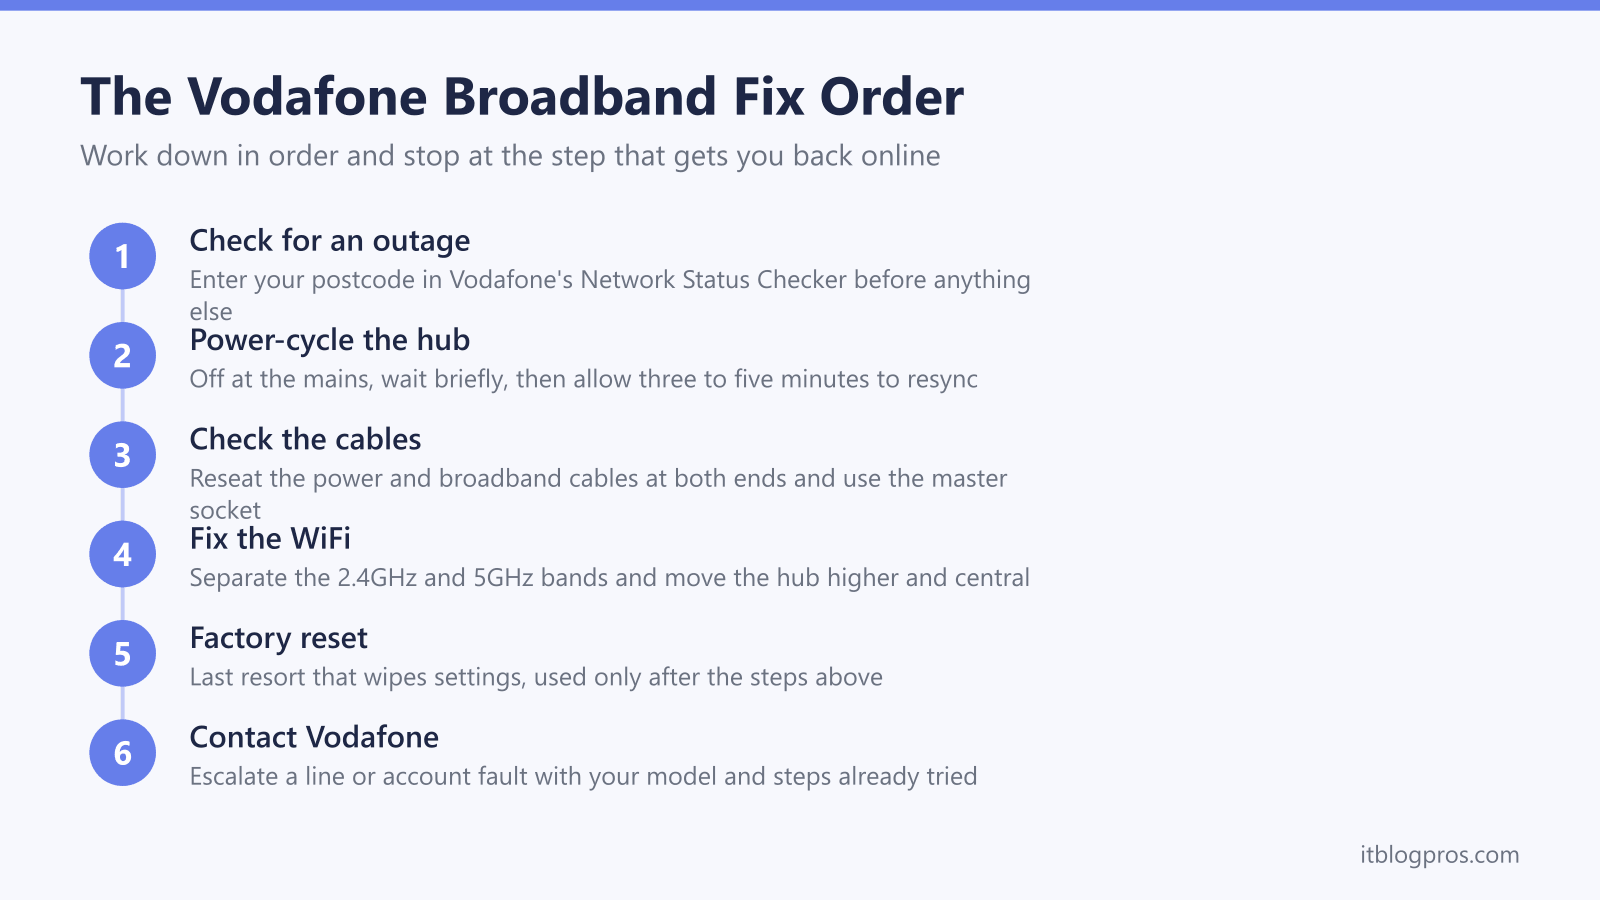
Work down this ladder and stop at the step that brings you back online:
- Check Vodafone's status checker for an area outage by postcode.
- Power-cycle the hub and give it three to five minutes to resync.
- Check the broadband cable and the power cable at both ends.
- Fix WiFi-specific problems by separating or switching the 2.4GHz and 5GHz bands.
- Factory reset the hub only as a last resort, then contact Vodafone.
The sections below walk through each step in full. If your symptom is a specific light rather than a dead connection, jump straight to the light guides linked later, since a red or flashing hub light has its own diagnosis.
Step One: Rule Out A Vodafone Outage First
Before touching the hub, confirm the fault is yours and not Vodafone's. An area outage cannot be fixed at home, so checking it first saves you from a pointless reset.
Vodafone runs an official Network Status Checker at vodafone.co.uk/network/status-checker. Enter your postcode and it reports any known service issues in your area, and if you sign in it can run a line test and flag a fault to Vodafone's engineers. Downdetector and Vodafone's social channels are useful cross-checks for a wider spike, and a quick word with a neighbour on Vodafone confirms whether the whole street is affected.
If there is a confirmed outage, there is nothing to fix at your end and the connection returns on its own once Vodafone clears it. If the checker shows your area is healthy, move on to the hub.
Step Two: Power-Cycle The Hub The Right Way
A power-cycle clears the most common temporary faults and is the single highest-yield step once an outage is ruled out. The method is the same across the WiFi Hub (THG3000), Power Hub, Ultra Hub and Ultra Hub 7.
- Switch the hub off at the mains or pull the power cable from the back.
- Leave it off for at least ten to thirty seconds so the connection fully drops.
- Power it back on and do not touch it for three to five minutes while it resyncs.
- Watch the status light cycle through and settle on solid white, which means it is connected and ready.
If the hub is tucked out of reach, the My Vodafone Broadband app can run a connection check and soft-restart it from your phone, then guide you through the same wait. A genuine restart takes a few minutes, so resist the urge to keep toggling the power, which only restarts the clock.
Step Three: Check The Cables And The Socket
A loose or wrong cable is a surprisingly common cause of a hub that will not connect, and it is quick to rule out.
Check the power cable is firmly seated at both the hub and the wall, and that the socket itself has power. Then check the broadband cable: on a full-fibre line it runs from the hub's WAN port into the white fibre box (the ONT), and on an FTTC or copper line it runs into your master socket through the supplied microfilter. Make sure it is in the master socket and not an extension, look for kinks or damage, and reseat both ends firmly until they click.
If you have full fibre, glance at the ONT itself; its own power and connection lights should be on and steady. If the fibre box is dark or showing a fault, that points to the line rather than the hub. A persistent red or flashing-red hub light after these checks has its own diagnosis, covered in the dedicated guide below.
Fixing Slow Speeds And Dropping WiFi
If the connection is up but slow, or devices keep dropping off, the problem is usually WiFi rather than the line. Vodafone's hubs broadcast on two bands: 2.4GHz reaches further but is slower and more congested, while 5GHz is much faster over shorter range.
The most effective fix is to separate the bands. Using the My Vodafone Broadband app you can split the hub into two named networks, then connect each device to whichever band suits it: 5GHz for a TV or console near the hub, 2.4GHz for distant smart devices. The app also shows how busy each WiFi channel is, so you can switch to a quieter one if neighbours are crowding yours.
Placement matters as much as settings. Stand the hub upright, high and central, away from walls, metal, microwaves and other electronics, and out of cupboards. To tell a genuine slow line from a WiFi problem, check the sync speed in the app: if the sync speed is close to your plan but WiFi feels slow, it is a wireless issue, whereas a sync speed far below your plan points to the line and is worth raising with Vodafone. For a far room that WiFi simply cannot reach, a mesh node or a single well-placed extender such as the TP-Link RE700X is a more honest fix than repeatedly rebooting the hub.
Step Five: Factory Reset As The Last Resort
A factory reset clears any corrupt configuration, but it also wipes your custom WiFi name, password and any settings you changed, so it belongs near the bottom of the order, below the cable and band checks.
To reset, find the small pinhole reset button on the back of the hub, press and hold it with a paperclip for around ten seconds, and wait several minutes while the hub fully restarts and rebuilds its connection. Afterwards you will need to reconnect your devices using the default WiFi details printed on the hub's label, then re-apply any personal settings. The full step-by-step is in the dedicated reset guide linked below.
If the connection is still down after a reset, the fault is almost certainly on the line or account side rather than the hub, and it is time to contact Vodafone with your account number, hub model and the steps you have already tried.
When The Hub Itself Is The Limit
Sometimes the hub is simply past its best, especially the older WiFi Hub (THG3000) on a fast plan, where coverage and WiFi stability lag behind the newer Power Hub, Ultra Hub and Ultra Hub 7. Vodafone replaces a genuinely faulty hub under your agreement, so that is the first port of call for a unit that keeps failing.
If you want better WiFi rather than a replacement, it is worth knowing Vodafone's UK hubs do not offer a true modem or bridge mode you can simply switch on. That means you cannot cleanly hand routing to your own router; the practical options are to run your own router or mesh in access-point mode behind the Vodafone hub, or to accept double-NAT, which can complicate gaming and port forwarding. For most people a mesh kit such as the TP-Link Deco X50 or the Amazon eero 6+, or a strong standalone router like the ASUS RT-AX86U Pro or TP-Link Archer AX73, run as access points behind the hub, give a real coverage and reliability lift. The full buying-guide comparison is linked below.
Check the TP-Link Deco X50 mesh on Amazon UK →
Check the Amazon eero 6+ mesh price on Amazon UK →