A flashing red light on a Vodafone Broadband Booster is the unit telling you it has lost, or never made, a solid connection back to your main hub. On the Super WiFi Booster a steady white light is the healthy state, flashing white means the signal from the hub is weak, solid purple means it is ready to pair, and flashing red means pairing has failed or the link has dropped. The good news is that red almost never means the booster is dead. In most cases the booster has simply been placed too far from the hub, has fallen out of pairing after a hub reboot or firmware update, or needs a clean power cycle. This guide walks through the honest fix order, repositioning, re-pairing, power-cycling and a full reset, and only then covers the small number of cases where an ageing booster is genuinely worth replacing.
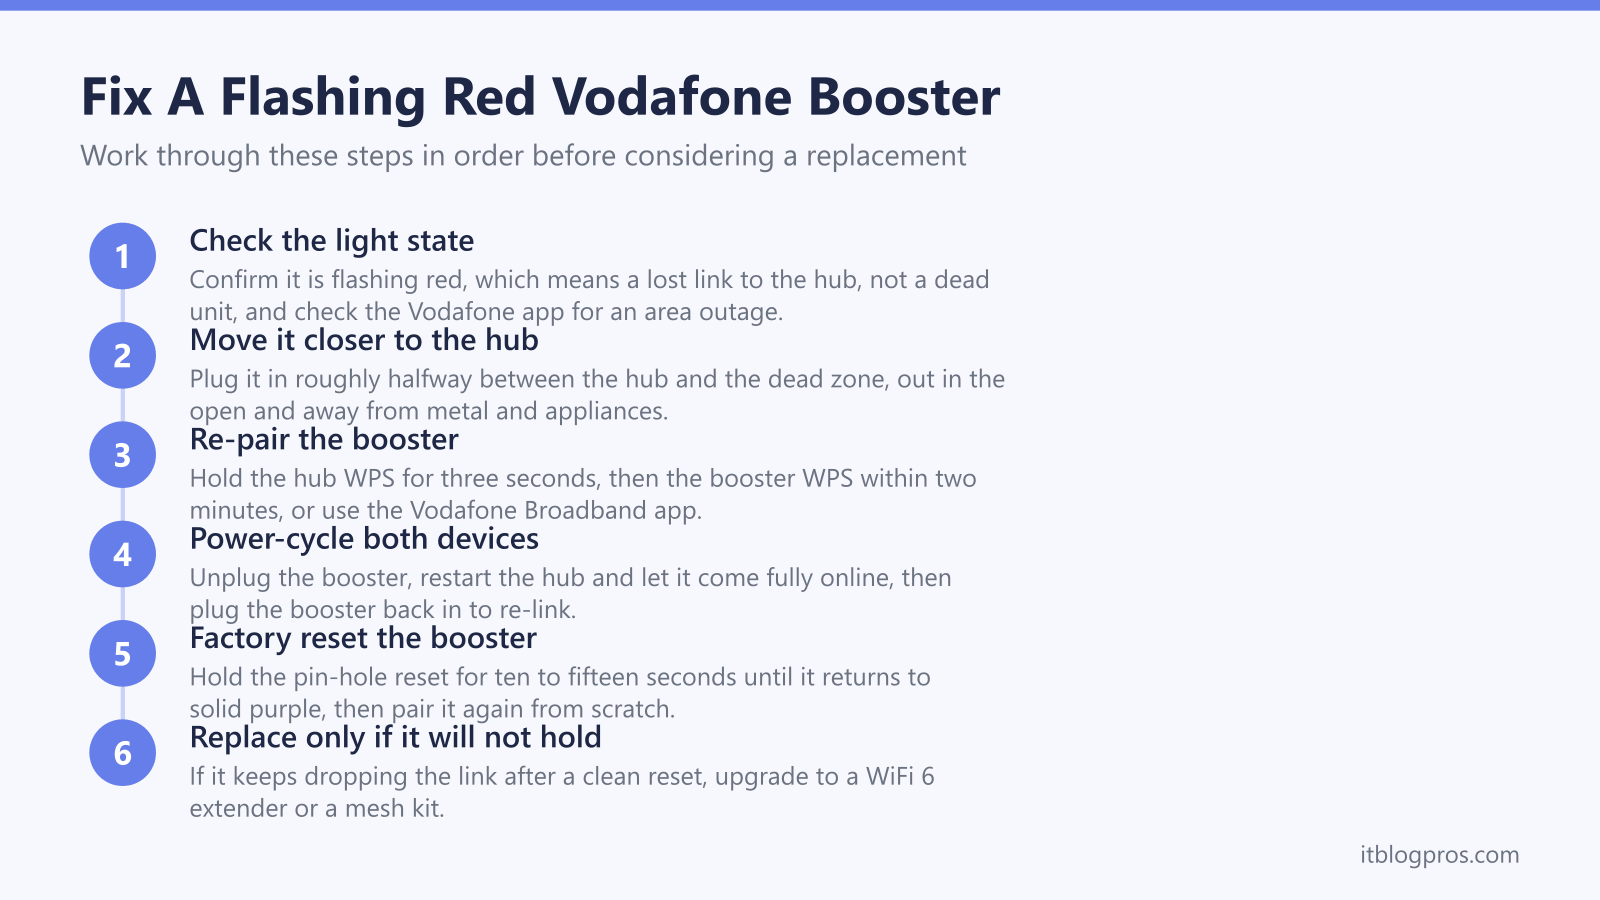
A flashing red light on a Vodafone Broadband Booster signals a lost or failed link to your hub, not a broken unit. Move the booster closer to the hub, re-pair it using WPS or the Vodafone Broadband app, then power-cycle both devices. A factory reset clears stubborn cases. Replacement only makes sense when an older booster will not hold a link at all.
Key Takeaways
- Flashing red on a Vodafone Super WiFi Booster means it has lost or failed to make a connection to the hub, while solid white is the healthy working state.
- Most red lights come down to distance, so the first fix is moving the booster roughly halfway between the hub and the dead zone, out in the open.
- Re-pairing with the WPS buttons or the Vodafone Broadband app restores boosters that dropped out after a hub reboot or firmware update.
- A 30-second power cycle of both the hub and the booster, then a pin-hole factory reset, clears most stubborn flashing-red cases.
- Replacement is only worth it when an older Vodafone booster keeps dropping its link despite a clean reset, and a WiFi 6 extender or a mesh kit is the honest upgrade.
What The Flashing Red Light Actually Means
On the Vodafone Super WiFi Booster the single light on the front is a status indicator, and red is the alert state. Solid white means the booster is connected and working well. Flashing white means it can see the hub but the signal is weak, so it is rebroadcasting a poor connection. Solid purple means the booster is powered and ready to be paired. Flashing red means pairing has failed or the booster has lost its link back to the hub entirely.
The key thing to understand is that red is about the connection between the booster and the hub, not about the booster being faulty. A booster that flashes red has power and is working internally, it simply cannot reach the hub strongly enough to form a stable mesh link. That points the fix squarely at distance, pairing and power, in that order, before anything more drastic. It is also worth a quick check of the Vodafone status page or app for an area outage, because a hub that has lost its own internet connection can leave a paired booster unable to settle.
Move The Booster Closer To The Hub First
Distance is the most common cause of a flashing red light, so this is the first fix to try. A booster cannot create signal out of nothing. If it is placed too far from the hub, or with thick walls, a fridge or a TV in the way, it receives a weak signal and cannot hold a stable link, which shows as flashing red or flashing white.
The rule that works is to place the booster roughly halfway between the hub and the dead zone you are trying to cover, not inside the dead zone itself. Plug it into a wall socket out in the open, ideally at about chest height, and keep it clear of cupboards, metal shelving, microwaves and large appliances that block radio. Once it is repositioned, give it a couple of minutes to settle. If the light moves from red to flashing white to solid white, you have found the problem and the booster is now in a workable spot. If it stays red, move on to re-pairing.
Re-Pair The Booster With WPS Or The Vodafone App
Boosters frequently drop their pairing after the hub reboots, after a firmware update, or after a power cut, and the unit then flashes red because it no longer recognises the network. Re-pairing fixes this without losing any settings.
The WPS method is quickest. Press and hold the WPS button on the back of your Vodafone hub for about three seconds until its WiFi light starts flashing. Within two minutes, press and hold the WPS button on the booster for about three seconds. The booster light should flash purple while it pairs, briefly show green as it connects, then settle on solid white. The alternative is the Vodafone Broadband app, which has an add a booster or manage devices option that walks the pairing through on screen. The app route is the more reliable one if the WPS buttons are not behaving, and it confirms the booster has joined before you walk away.
Power-Cycle Both The Hub And The Booster
If repositioning and re-pairing have not cleared the red light, a clean power cycle resolves a surprising number of cases, because it forces both devices to renegotiate their link from scratch. Order matters here.
Unplug the booster from the wall. Then unplug the main hub, wait at least 30 seconds so it fully powers down, and plug the hub back in. Let the hub come fully back online, which usually takes two to five minutes and ends with its normal steady light. Only then plug the booster back in and give it a minute or two to find the hub and pair automatically. Bringing the hub up first means the booster has a network to join the moment it powers on, rather than booting into a dead network and flashing red. If the booster comes back solid white, the job is done.
Factory Reset The Booster As A Last Resort
When the red light survives repositioning, re-pairing and a power cycle, a factory reset wipes the booster back to its default state and clears any corrupt pairing data. This is the last self-fix to try before deciding the unit itself is the problem.
With the booster powered on, find the small recessed reset button on the side or back. Press and hold it with a pin or paperclip for around ten to fifteen seconds until the light changes, then release and let the booster restart. It should return to solid purple, the ready-to-pair state. From there, pair it again using the WPS buttons or the Vodafone Broadband app exactly as during first setup. A reset followed by a fresh pairing is the cleanest way to rule out a software glitch. If the booster pairs and holds a solid white light afterwards, it was a settings problem, not a hardware fault.
When It Is Worth Replacing The Booster
Vodafone has changed its booster hardware several times. Older Intelligent WiFi and Pro boosters were followed by the WiFi 6 Super WiFi Booster, and then the WiFi 6E Super WiFi 6E Booster that ships with the Ultra Hub. Older units pair less reliably with newer hubs and can keep dropping their link no matter how cleanly they are reset. If your booster flashes red again within hours of every reset, refuses to hold a solid white light, or only ever manages flashing white in a sensible position, the kit itself is the limiting factor and no amount of troubleshooting will fix it.
At that point a current third-party extender is the honest upgrade. A WiFi 6 extender such as the TP-Link RE700X pairs to any hub over standard WiFi, holds a far stronger backhaul than a tired older booster, and covers a single problem room or floor well. If the real issue is whole-home coverage rather than one dead zone, a mesh system like the TP-Link Deco X50 replaces the booster-and-hub patchwork with one seamless network and a single name throughout the house. To decide between a single extender and a full mesh, the WiFi extender versus mesh guide and the mesh, extender or new router decider lay the choice out plainly. For every booster and extender fix in one place, start at WiFi booster or extender not working. Replace the booster only once the fixes above have genuinely failed, not before.